I got the idea for my spice rack from this lovely post.
Here is what I started with:
I've had this arrangement throughout my whole student life, 7 years in total, because it was easy to transport, and pull out of the cupboard to find the spices I needed. But a pile of jars that don't match and have the labels hidden doesn't make it easy to find anything!
I'd seen some cheap jars in Tesco, too bad they contained a "food" that can't really be called food, and I was rather embarrassed walking up to the till with 16 jars of this horrible stuff. Actually, embarrassed is an understatement!
Everything about it. The look, the texture, the smell, the ingredients, was DISGUSTING. I'm glad I saved someone from eating something a cat would turn it's nose up at.
But then I did buy 16 jars of the stuff, and I probably increased the demand for the things 10x. I hope not.
I started by emptying all the jars, straight into food waste, and soaking them in water to remove the labels:
I then sterilised them in the oven at 150C for about 30 minutes.
These jars were the perfect size, and the perfect price for my small budget. At 32p a jar, the embarrassment of buying 16 and the smell from emptying them was worth it to have the spice rack that I've wanted for so long.
Next it was time to make labels. I made temporary labels that can be removed because I wasn't certain that I'd always have the same spices. I wanted these but I was reluctant to spend money, and making your own is always more fun.
I cut out some rectangles from white and black card:
And then wrote the name of the spice in green (herbs), red (spicy spices), and brown (other spices e.g. cinnamon). Excuse the blurry picture next!
I then wrapped them in sticky back film, to protect them from dirt and water. I attached the labels to the jars with blu tack, because I couldn't think of another option.
That's enough writing, time for before and after pictures!
The spices are so easy to find, easy to see, and easy to see when we need more. We buy our spices from a brilliant shop called Scoopaway and you can buy just the right quantity by the scoop, and it's about a 1/3rd of the price of buying them at the supermarket!!
Plus, spices lose their flavour if you don't use them much, so before, that might have meant buying a whole jar, even if you only want 1 teaspoon! So, this new solution is working very well indeed, because we can buy as little as we need for our recipes!
It was great to get inspiration to turn a simple food jar into a place to keep my spices. These are perfectly functional, and I still like the labels. They're easy to identify, and I've arranged my spices in colour order! :)
I want/need your help now though! I want to do something to the lids of these jars. I don't really mind them at the moment, but I tried making one of them silver, and it really didn't work. In the absence of money for spray paint and the consideration for food safety, I don't really know what to do with the lids?
Ideas people, I need ideas! Let me know in the comments!
I'm digging out some old photos of a great crafty project. It took me about an hour with the sewing machine, and I love it. It works a treat in our kitchen!
When we moved in 6 months ago, we had plastic carrier bags EVERYWHERE. I wanted a functional but crafty bag dispenser to go in my kitchen, so those plastic bags would not go exploring the insides of my cupboards!
I went on a hunt for a simple, cheap pattern to make a fabric bag dispenser. Ta Da! I found this lovely design!
Off I went, searching through my fabric bits and bobs. This big square of bright green fabric is a thrifted piece - I don't really buy new fabric unless it's on double discount!
I love the brightness of it, and the flowers. The pattern said to cut a 6" x 42" strip of fabric. My piece just happened to be 42" wide. I cut a 7" strip to make it a little wider.
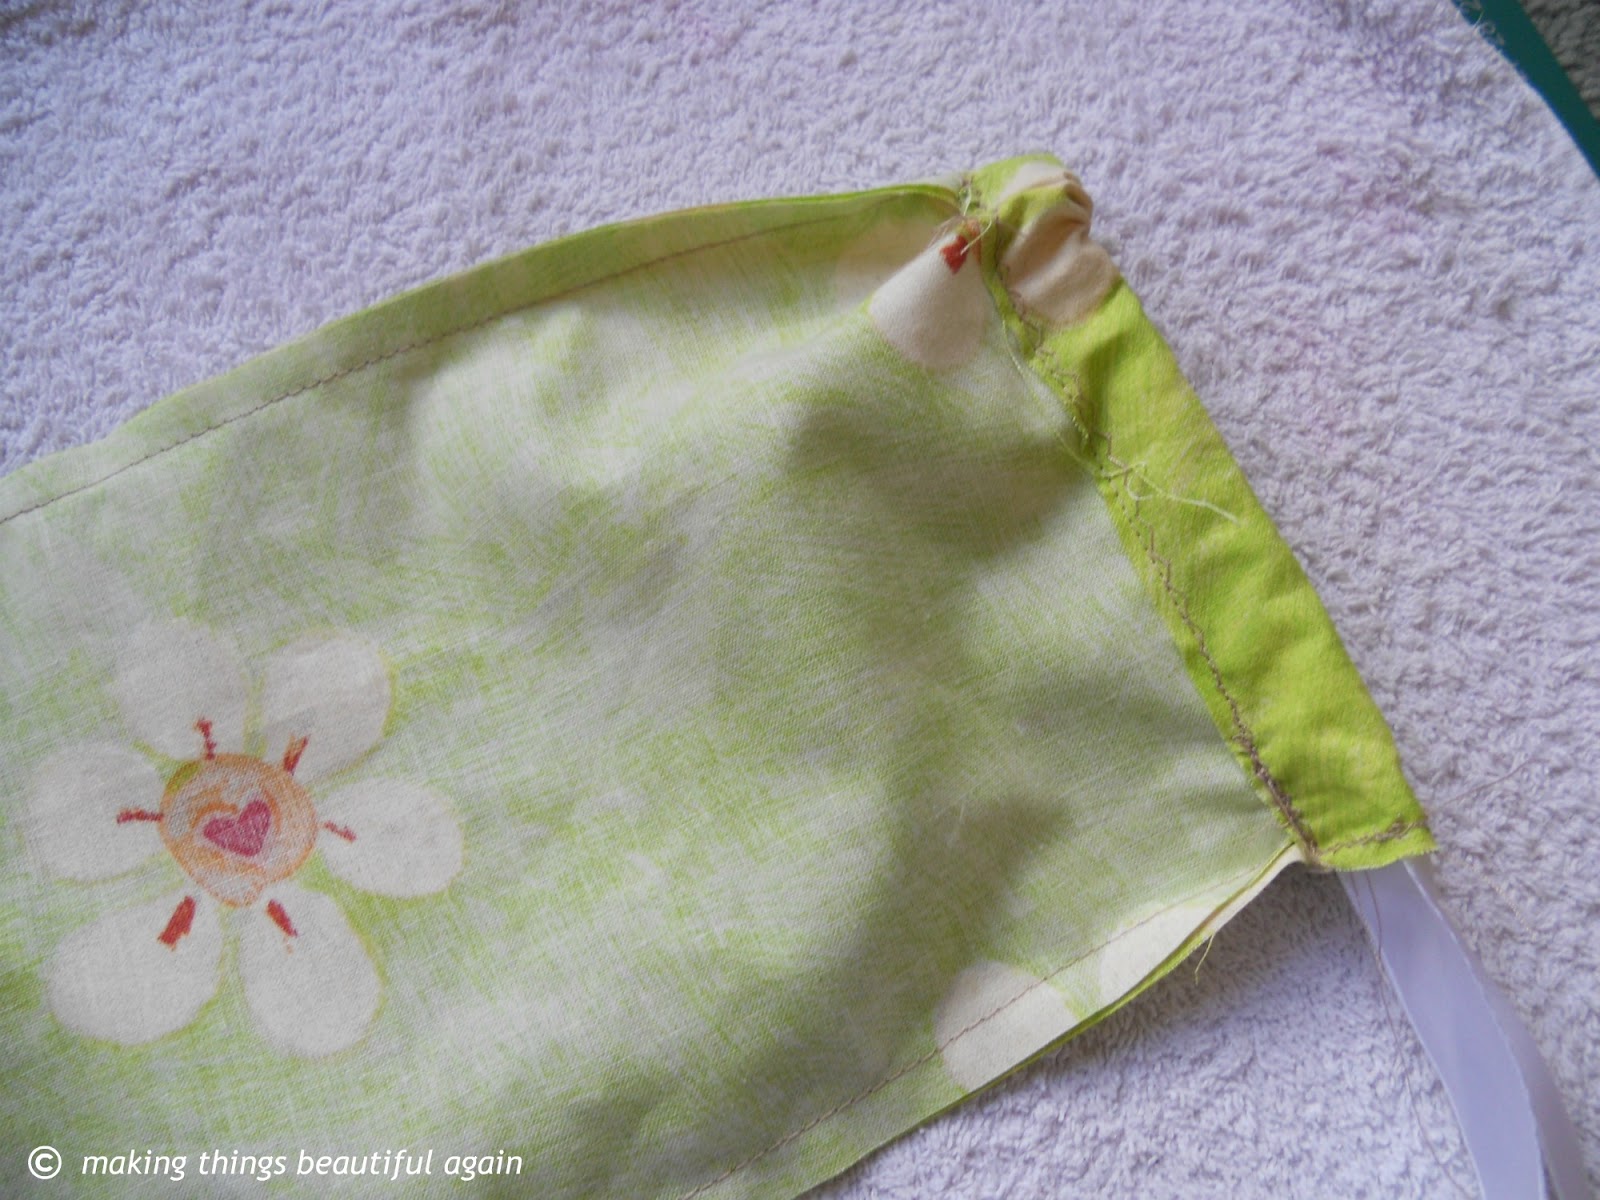
Then I followed the pattern, sewed up both sides, and added a tunnel for the ribbon to go in.
I get these bits of ribbon from the fat quarter packs I buy sometimes, and I always save them. Perfect little hanging loop for the bag dispenser.
First of all, I started out with a cardboard tube for my plastic bags, an idea I found on Pinterest. It didn't work so well. I'll show you a comparison!
The first one I had was just difficult to use, and difficult to refill. Not ideal at all. The new one, however, is brilliant! It goes well with the colours in the kitchen, and matches my tea towels EXACTLY!
I have bright yellow colour pops in mind for my kitchen, but I might wait til we move again to really decide.
What do you think of my not so new bag dispenser?
This post is part of my September challenge (even if it's October!). I aimed to organise/declutter one small area of my home each day for the month of September (and did ok, until other things got in the way!).
The topic of this post is paperwork. Bills, certificates, bank statements, any sort of important document. I used to have mine in four different places, and each time I'd need a piece of paper, I'd have to remember which category it was in, and where that category was stored. Once I decided to overhaul it, it became one big pile, and stayed that way for a few weeks. Eventually, I'd had enough and devoted a long afternoon to the job.
I used Brooke from Slow your Home's guide to banishing the paper clutter. It's amazing, so well thought out and easy to follow. I just noticed it was posted on my birthday, which makes it even more amazing. Just sayin' ;)
I started by collecting everything and dumping it all on the floor in the living room. Every single file and bit of paper I could find. This is what I came up with:
Confusing? I think so. As luck would have it, I knew exactly where to find different bits of paper, but in the effort to simplify my life, I wanted it all in one place. My new filing system is based around an idea I found at the Complete Guide to Imperfect Homemaking.
I tried to find a suitable basket, but as I'm not willing to spend any money on my projects, I searched around the house first, and found a box that was the perfect width. It's made out of thick cardboard. I bodged a banana crate from a supermarket, I basically cut out the middle part to shorten it and stuck it back together!
I then covered it in brown paper to hide the holes, and all that sticky tape! I wanted something plain and simple, because the suspension files I had available are bright red. It's no good having clashing colours (not for me anyway).
I followed Brooke's guide step by step , did all three days work (3 parts) in 5 hours and was so satisfied when I got it done. I shredded a tonne of paper that I didn't need, and finally got everything into one place:

I had the opportunity to test this out tonight. I needed a bank statement, and it was so easy to find because this box sits in the corner of my living room, and it's the only place now where I store paperwork! I was even able to put it back in its place, which I must say is an achievement for me!
Do you have a paperwork monster lurking in your house?
This post is part of my September challenge. I am organising/decluttering one small area of my home each day for the month of September.
By beauty products I'm referring to all make-up, lotions, creams, moisturisers and medication that I own.
I've recently become interested in the ingredients list on these products. Chemicals. Unnatural names for unnatural substances. Something concocted in a chemistry lab. How do we know what these are doing to us?
One particular ingredient that has had a lot of attention are parabens. They are used in lots of products, as a preservative. These chemicals mimic oestrogen, and who knows what that might be doing. Alternatives might take some searching for, but they are out there. I found a good article that reviews some products made from natural ingredients. The GoodGuide has more in-depth analyses, but doesn't feature many products I find in the UK.
For this little project, I started by collecting EVERYTHING in my whole flat that falls under the scope of this challenge. This is what I found:

The goal was to fit all of this into my two bedside table drawers, shown above, and the two lilac baskets which live in the top drawer of my dresser. I use the contents of those baskets every single day, and they are very accessible there.
Then I sorted everything into categories.

oh and my make up (why aren't there 5 picture collages?)
I'll briefly outline what I got rid of from each category:
1. Hair: Duplicates of products that I use very rarely. I had two combs and two hair brushes. I only need one of each.
2. Lotions: Any containers approaching empty and that had been open for over a year. Anything that used to smell nice, but now smells off. You'll know. Anti-bac hand gel that attracts wasps and bees (lavender). I am phobic of wasps!
3. Nails: I love painting my nails. I managed to get rid of 4 bottles - the colours I won't wear anymore (black, bright red and princess pink).
4. Meds: Anything out of date. I trimmed down meds for conditions we hardly ever suffer from.
5. Make-up. I'm not a big fan of caking make up on so it's an inch thick. I found an eyeliner that was more than 10 years old, and surprise surprise had parabens in it. I don't think they're supposed to last that long! Chemical breakdown + my eyes = not a good combo.
In the end I managed to empty the plastic crate, so now I can fit everything in the two drawers and two baskets. Yay!
In future, there is a definite one-in-one-out policy in place. I will have to surrender something I have already if I want something new. That way, hopefully, the drawers won't overflow!
Also, every new product will be researched. If I buy less of them, I might be able to afford to spend a teensy weensy bit more to avoid the nasty chemicals.
How do you feel about the synthetic ingredients?
This post is part of my September challenge. I am organising/decluttering one small area of my home each day for the month of September.
The cupboard under the kitchen sink is home to all our cleaning materials, tea towels, spare cloths, and some random bits and bobs. It was looking very messy and disorganised! We have a very small kitchen so space is at a premium.
Here is the before photo:
Nothing was organised in this cupboard. Cleaning products everywhere, bin liners scattered in 3 different places. I will point them out, using little stars in the next photo:
See them?
I tackled this cupboard by first removing everything (except the paint box from the landlord)
Then I sorted everything into categories:
By the way, the photo above shows pretty much the entire floor space of the kitchen.
I decluttered and organised one category at a time. I tried to remove as much packaging as possible. For example, I took all of our jiffy cloths out of 4 separate packets and used a plastic wallet to store them all. I took all of our sponges, and put them in an empty box I found in the cupboard.
I used boxes and containers I found in the house. I didn't spend any money for this project at all, and encourage everyone to make do with what they have already. My sponge box is just a box from my scales, but it's the perfect size for the job. The items in the cupboard are not on display, so function over aesthetics this time :)
Then I put everything back in the cupboard:
1. Cloths in plastic wallet and spare sponges/scourers
2. Cleaning products (I use white vinegar, lemon juice and bicarbonate soda for most things)
3. Laundry products
4. Bin liners (compostable, recycling bags, and black bin bags). Now all my bin liners are in once place woooo!
5. Reusable shopping bags. (I have more hiding elsewhere, this might become their new home!)
I also created some labels with card, a felt tip, and some sticky film (like laminating but easier)

Now for the most exciting bit. Before and after shots!
Now I know where everything is, and it's easier to put stuff back in the right place.
When I complete these projects, I get the satisfaction of crossing them off my list.
Has anyone else been organising under their sink?