Showing posts with label kitchen. Show all posts

Wednesday, 28 November 2012

I love my spice rack!


I got the idea for my spice rack from this lovely post.

Here is what I started with:


I've had this arrangement throughout my whole student life, 7 years in total, because it was easy to transport, and pull out of the cupboard to find the spices I needed. But a pile of jars that don't match and have the labels hidden doesn't make it easy to find anything! 

I'd seen some cheap jars in Tesco, too bad they contained a "food" that can't really be called food, and I was rather embarrassed walking up to the till with 16 jars of this horrible stuff. Actually, embarrassed is an understatement!


Everything about it. The look, the texture, the smell, the ingredients, was DISGUSTING. I'm glad I saved someone from eating something a cat would turn it's nose up at. 

But then I did buy 16 jars of the stuff, and I probably increased the demand for the things 10x. I hope not. 

I started by emptying all the jars, straight into food waste, and soaking them in water to remove the labels:


I then sterilised them in the oven at 150C for about 30 minutes. 

These jars were the perfect size, and the perfect price for my small budget. At 32p a jar, the embarrassment of buying 16 and the smell from emptying them was worth it to have the spice rack that I've wanted for so long. 

Next it was time to make labels. I made temporary labels that can be removed because I wasn't certain that I'd always have the same spices. I wanted these but I was reluctant to spend money, and making your own is always more fun. 

I cut out some rectangles from white and black card:


And then wrote the name of the spice in green (herbs), red (spicy spices), and brown (other spices e.g. cinnamon). Excuse the blurry picture next!


I then wrapped them in sticky back film, to protect them from dirt and water. I attached the labels to the jars with blu tack, because I couldn't think of another option. 


That's enough writing, time for before and after pictures! 


The spices are so easy to find, easy to see, and easy to see when we need more. We buy our spices from a brilliant shop called Scoopaway and you can buy just the right quantity by the scoop, and it's about a 1/3rd of the price of buying them at the supermarket!! 


Plus, spices lose their flavour if you don't use them much, so before, that might have meant buying a whole jar, even if you only want 1 teaspoon! So, this new solution is working very well indeed, because we can buy as little as we need for our recipes! 

It was great to get inspiration to turn a simple food jar into a place to keep my spices. These are perfectly functional, and I still like the labels. They're easy to identify, and I've arranged my spices in colour order! :) 

I want/need your help now though! I want to do something to the lids of these jars. I don't really mind them at the moment, but I tried making one of them silver, and it really didn't work. In the absence of money for spray paint and the consideration for food safety, I don't really know what to do with the lids?


Ideas people, I need ideas! Let me know in the comments!


Monday, 26 November 2012

The bag dispenser I always wanted

I'm digging out some old photos of a great crafty project. It took me about an hour with the sewing machine, and I love it. It works a treat in our kitchen!


When we moved in 6 months ago, we had plastic carrier bags EVERYWHERE. I wanted a functional but crafty bag dispenser to go in my kitchen, so those plastic bags would not go exploring the insides of my cupboards! 

I went on a hunt for a simple, cheap pattern to make a fabric bag dispenser. Ta Da! I found this lovely design

Off I went, searching through my fabric bits and bobs. This big square of bright green fabric is a thrifted piece - I don't really buy new fabric unless it's on double discount!


I love the brightness of it, and the flowers. The pattern said to cut a 6" x 42" strip of fabric. My piece just happened to be 42" wide. I cut a 7" strip to make it a little wider. 


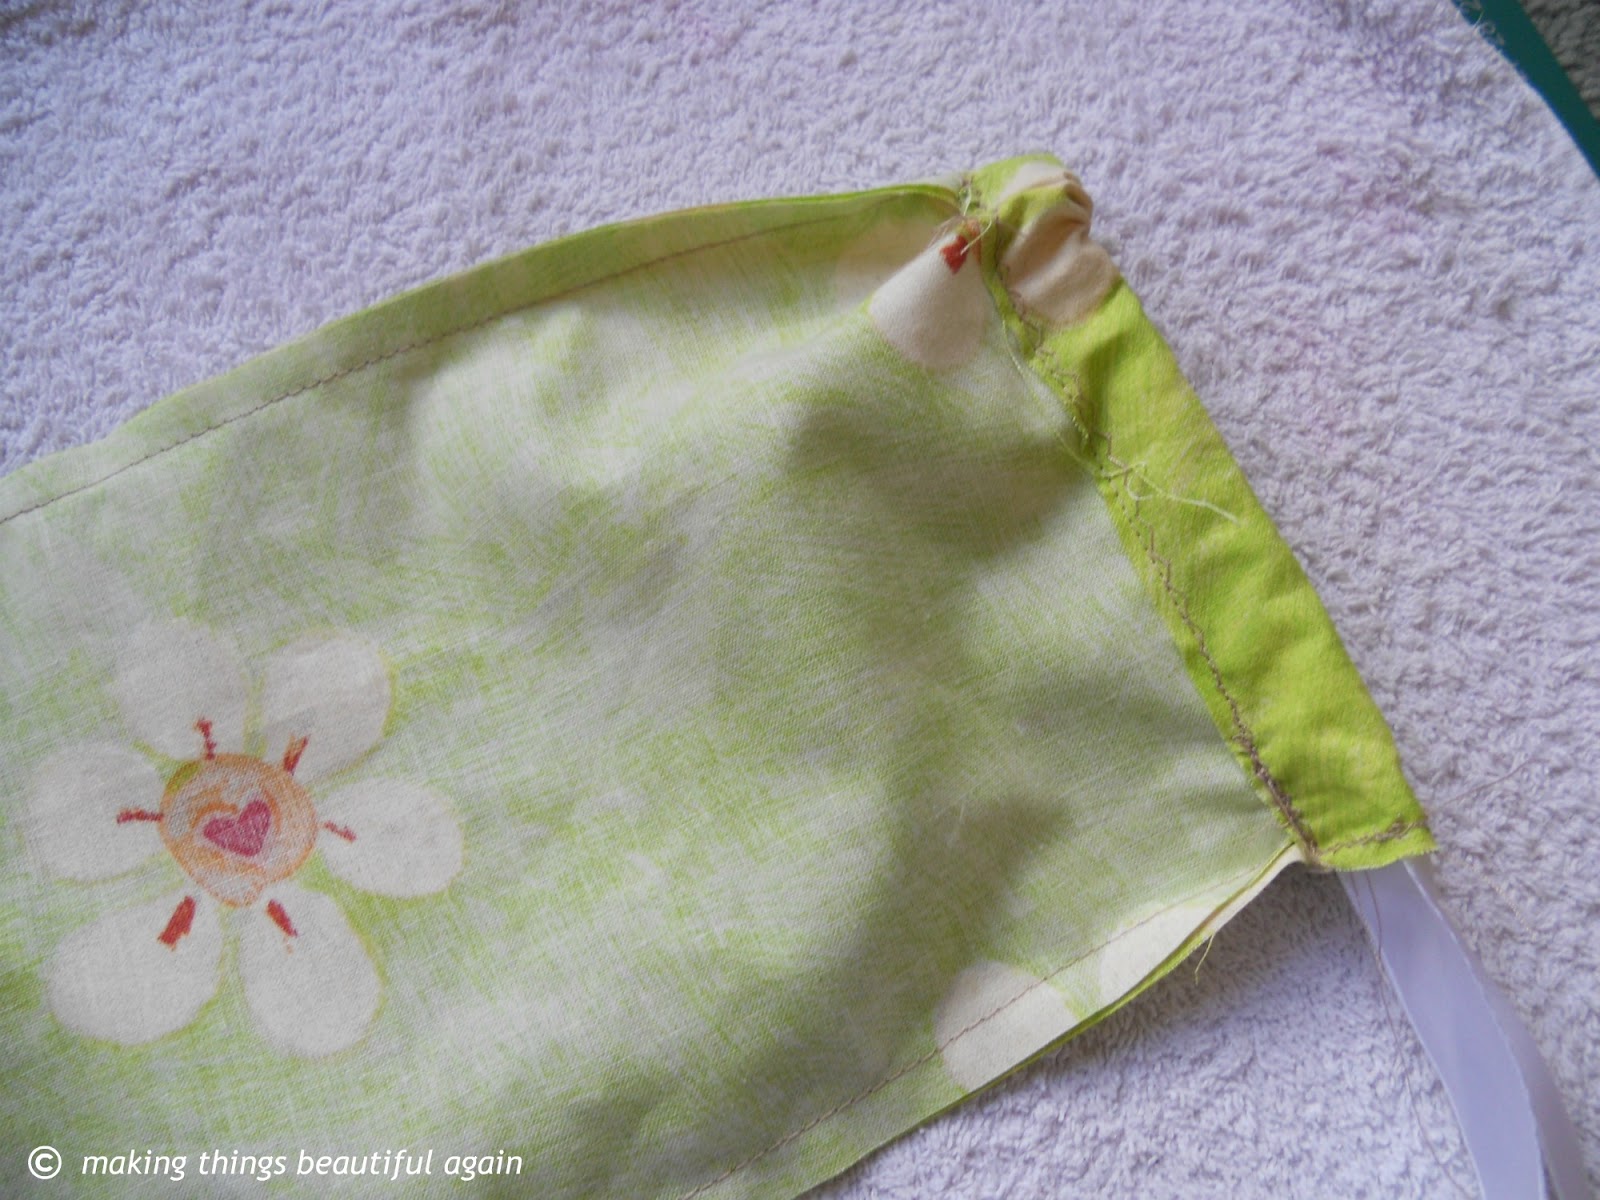
Then I followed the pattern, sewed up both sides, and added a tunnel for the ribbon to go in. 


I get these bits of ribbon from the fat quarter packs I buy sometimes, and I always save them. Perfect little hanging loop for the bag dispenser. 

First of all, I started out with a cardboard tube for my plastic bags, an idea I found on Pinterest. It didn't work so well. I'll show you a comparison!


The first one I had was just difficult to use, and difficult to refill. Not ideal at all. The new one, however, is brilliant! It goes well with the colours in the kitchen, and matches my tea towels EXACTLY!

I have bright yellow colour pops in mind for my kitchen, but I might wait til we move again to really decide. 


What do you think of my not so new bag dispenser?


Wednesday, 12 September 2012

4 reasons to use a thrifty green cleaning solution

When I moved to my new place 3 months ago, I decided I didn't want to use chemical cleaners in my kitchen. I hate the smell of them. Really strong cloying smells give me a headache, and they can't be good for the airways. I mean all-purpose cleaners from the supermarket, Flash and all those. Furniture polish is particularly bad. ugh. 

So I made my own, with some very basic ingredients. Here's why:


1. It does a better job of cleaning my surfaces than any chemical based cleaner I've tried.

2. If it gets into food preparation (i.e. because it's on the surface), it is perfectly safe. No poisoning or such things going on. 

3. It's cheaper to make than any of the store-bought cleaners.

4. It's super easy!


Here's how:


You will need:

1. An empty spray bottle (if you don't have one I think they'd be pretty cheap to buy from a pound shop. And you can use it again).

2. A bottle of white vinegar (from 49p in Tesco). The brown stuff might stain things!

3. A bottle of concentrated lemon juice. (40p up I reckon)

4. Tap water

5. (optional) Your favourite essential oil - lavender and tea tree are antibacterial so they would be good choices.


These ingredients will make approx 2.5L of cleaning solution, all for under 1 pound (2 if you need to buy the bottle). NICE!!


Here's how:

1. Take your empty spray bottle and fill it about a 5th of the way up with white vinegar. The bottle in the pic is 750ml - go to the white line. No need to be exact here (I'm guessing 100-150ml vinegar)


2. Then add probably about 3-4 tbsp of lemon juice. I never measure it, I just glug some in. 

3. Fill up to the top with water

4. Add about 10 drops of essential oil if you want (I don't).

5. Close the bottle and shake it up!


If you don't like the smell of vinegar, add more lemon juice, or more essential oil to satisfy your nose. Personally, I don't mind the smell, and it dissipates pretty quickly. 


The benefits:

  • It's green and won't harm the environment
  • It's super cheap and easy to make
  • It cuts grease better than any product I know (even the ones that claim to on the bottle). For super-duper greasy stuff (like cooker hoods) use a solution of hot water and soda crystals - do wear gloves though as it can irritate sensitive skin. Then you'll discover the real colour of your appliances! :) 


That's it!  SHAKE IT UP  and clean away!!


If you'd like some more green cleaning tips, post a comment! Also, Slow Your Home has some pretty good green cleaning advice! 


Saturday, 8 September 2012

Quick post: Easiest, cheapest kitchen roll holder

I thought of this as I was walking to the park! 

You will need:

Kitchen roll, some twine or string, and a thinner cardboard tube (optional really). That's it!


Then decide where you want to put it - you need two points to attach your twine to. Attach one end: 


I live in a rented flat so I can't put nails or hooks anywhere (but you could of course). Luckily, there was a tiny gap between the shelf and the wall, so I threaded the twine through with a needle, and made a knot in it so it wouldn't fall down. 


Next, put your thinner cardboard tube onto the string. It will help the kitchen roll move more freely. I tried it without, and it's still ok (in case you don't have a thinner tube spare -I think mine came from a roll of baking parchment, cut to size). 

Then add the kitchen roll and attach the twine to the second point. Attach it in a way that allows you to easily remove it, when you need to change the roll. 

I did this:


I wrapped it round the shelf and tied a little knot in it. But not too tight so I can get it off when I need to change the roll. 

And voila, my new kitchen roll holder! For the cost of pennies!


One less thing that lives on the kitchen counter!

I'll share a post on the spice jars soon. I'm really happy with how this turned out! 

What thrifty things have you been doing? 


Tuesday, 4 September 2012

Organising under the kitchen sink

This post is part of my September challenge. I am organising/decluttering one small area of my home each day for the month of September. 


The cupboard under the kitchen sink is home to all our cleaning materials, tea towels, spare cloths, and some random bits and bobs. It was looking very messy and disorganised! We have a very small kitchen so space is at a premium. 

Here is the before photo:


Nothing was organised in this cupboard. Cleaning products everywhere, bin liners scattered in 3 different places. I will point them out, using little stars in the next photo:


See them? 

I tackled this cupboard by first removing everything (except the paint box from the landlord)


Then I sorted everything into categories:


By the way, the photo above shows pretty much the entire floor space of the kitchen. 

I decluttered and organised one category at a time. I tried to remove as much packaging as possible. For example, I took all of our jiffy cloths out of 4 separate packets and used a plastic wallet to store them all. I took all of our sponges, and put them in an empty box I found in the cupboard.


I used boxes and containers I found in the house. I didn't spend any money for this project at all, and encourage everyone to make do with what they have already. My sponge box is just a box from my scales, but it's the perfect size for the job. The items in the cupboard are not on display, so function over aesthetics this time :)

Then I put everything back in the cupboard:


1. Cloths in plastic wallet and spare sponges/scourers

2. Cleaning products (I use white vinegar, lemon juice and bicarbonate soda for most things)

3. Laundry products

4. Bin liners (compostable, recycling bags, and black bin bags). Now all my bin liners are in once place woooo!

5. Reusable shopping bags. (I have more hiding elsewhere, this might become their new home!)

I also created some labels with card, a felt tip, and some sticky film (like laminating but easier) 


Now for the most exciting bit. Before and after shots! 


Now I know where everything is, and it's easier to put stuff back in the right place.

When I complete these projects, I get the satisfaction of crossing them off my list.


Has anyone else been organising under their sink? 


Friday, 10 August 2012

To the Greengrocers We Go

I have to admit that we've succumbed to the junk food a little bit lately. No wonder, since our fruit bowl looked like this today:


One sad, lonely little kiwi all on its own in the big fruit bowl. Today, I thought I'd go and get him some friends to keep him company, and satisfy my craving for fresh fruit. We had the best peaches we've ever had from the Bristol Harbour festival the other week and I wish I'd got more.

Here's hoping that this lot will be just as tasty! 


Little kiwi doesn't feel quite so lonely anymore :)


This time, I've restored some beauty to the fruit bowl. Now to eat them!


Wednesday, 8 August 2012

Morning biscuits

 or cakes, or cookies, or fruit parcels. Whichever you prefer! 


Welcome to my first recipe post! 

The idea behind this baking session was to attempt to imitate some biscuit type/cereal bar things we had from Sainsbury's that I really like. I'm keen to get away from all the artificial ingredients that are in cereal bars, and stick to a few natural ones instead. I hate it when seemingly ok products have an ingredients list the size of my hand (in tiny writing). I'm trying hard to introduce some healthy snacks into my diet, and this was an attempt at the first step. Ok, I didn't end up with anything close to cereal bars, but the result is deliciously fruity, and not too sweet. 

I adapted an old Icelandic recipe for these, and decided that I'd do half cinnamon swirl biscuits, and half raisin/apple slices. Since the recipe is in Icelandic, I thought I'd translate it for you! The raisin/apple filling for half of the biscuits is completely improvised, I made it up as I went along with no recipe input at all.

Here goes! Feel free to comment below and ask questions if anything isn't clear. 

Ingredients

Pastry:

250g    plain flour
50g      cold butter (I used salted, but maybe unsalted would be better), cut into cubes
2 tsp    sugar
2 tsp    baking powder
1         egg
100ml  milk

Cinnamon swirl filling:

25g      melted butter
2 tbsp  sugar  
1 tsp    ground cinnamon

Raisin and apple filling:

2         granny smith apples (or other crunchy, tart apples), cut into small pieces      
25g     butter
25g     raisins or sultanas
1 tsp   ground cinnamon (or less, if you prefer - personally, I can't get enough of it)
2 tsp   sugar


Method

1.  Mix the flour, baking powder and sugar together in a bowl


 2.  Cut the cold butter into cubes, and add to the bowl
3. Rub the butter into the flour with your fingertips, until the mixture looks like fine breadcrumbs.


4. Add the egg, combine, and then slowly add the milk to the mix. Knead the dough until it has a smooth playdough-like consistency. You might need to add a sprinkling of flour here and there if the dough is too sticky. 

Cut the dough in half, wrap each half in clingfilm and set aside to cool in the fridge. This pastry can be used to make both types of biscuits in the photo above.


*At this point, my camera ran out of battery, so the rest of the photos are taken with my phone. Excuse any reduction in quality :)

For the cinnamon swirls:


 1. First, mix the cinnamon (1 tsp) and the sugar (2 tbsp) in a small bowl.


 2. Take one half of the dough out of the fridge and roll it into a rectangle shape. You want it to be quite thin, about 2-3mm.


3. Melt 25g butter in a saucepan, and brush it all over the flat dough (I only used about half of my melted butter)


4. Next, take your bowl of cinnamon-sugar and evenly sprinkle all of it onto your rectangle. The butter will make it stick.


5. Roll your dough *lengthways* into a long sausage shape.


 6. Cut your sausage shape into pieces, about 1.5cm (approx 1/2 inch) across. 


 7. Take each piece and lay it flat side down onto a greased baking sheet (baking parchment is fine too). Slightly flatten each swirl with your fingers. 


 8. Bake in a preheated oven at 200 C (400F, gas mark 6) for 15-20 minutes, or until the swirls are light golden brown.


Onto my improvised raisin and apple filling!

For the raisin and apple filling:

A reminder of the ingredients:

2         granny smith apples (or other crunchy, tart apples), cut into small pieces      
25g     butter
25g     raisins or sultanas
1 tsp   ground cinnamon (or less, if you prefer - personally, I can't get enough of it)
2 tsp   sugar


1. Cut your apples into small pieces. You could use cooking apples (bramley) for this recipe, but you would need more sugar.


2. Melt the butter in a saucepan on a low-medium heat

3. Add your apple pieces, raisins/sultanas, ground cinnamon and sugar. Cook it on a low-medium heat for about 15 minutes, until the apples are soft, and *I think* have  caramelised. I have never been shown what caramelising looks like, so I'm guessing here. But it goes kinda gooey. Make sure to do this slowly. Hence the 15 minute cooking time.


4. This is what it should look like, roughly, when you've cooked it enough. See the glistening, gooey, yumminess?

My flash went off and I couldn't avoid it. Phone's fault :P


5. Go get the other half of your dough, and roll it out into a rectangle. I failed at rolling rectangles today, so I just cut off the wonky sides to get a nice rectangle shape (of course saving the cut off for some odd-shaped parcels at the end!). Then I cut the big rectangle into 5 smaller rectangles.

6. Get your mix, and put about 2-3 teaspoons of it on each rectangle, as shown. Make sure you leave enough space to fold the rectangle in half.  

7. Fold each rectangle in half towards you, and with a fork, press down on both layers together at the edges, to close the pastry. Go all the way round so all the yummy mix is cosy inside! 


8. Once you've closed all the parcels, score the top with a knife, I would say until you see the mix. Don't make the slits too big or you'll get mix everywhere when it cooks. I didn't score mine enough and some of my parcels ended up opening at the sides. If you leave a small slit open in the top, the bubbles have somewhere to go and that means your parcel stays closed!

9. Finally, brush the tops of the parcels with some milk, so they go nice and golden in the oven!


10. Bake at 200 C (400F, Gas mark 6) for 15 minutes, or until golden. This is what they should look like:


Finally, leave them to cool for a few minutes, and open them up to see all the yummy filling! And then gobble it up!


Let me know if you try this recipe and how it works out for you! I'd love to hear about it in the comments!


Linking up to:

Chic on a Shoestring Decorating